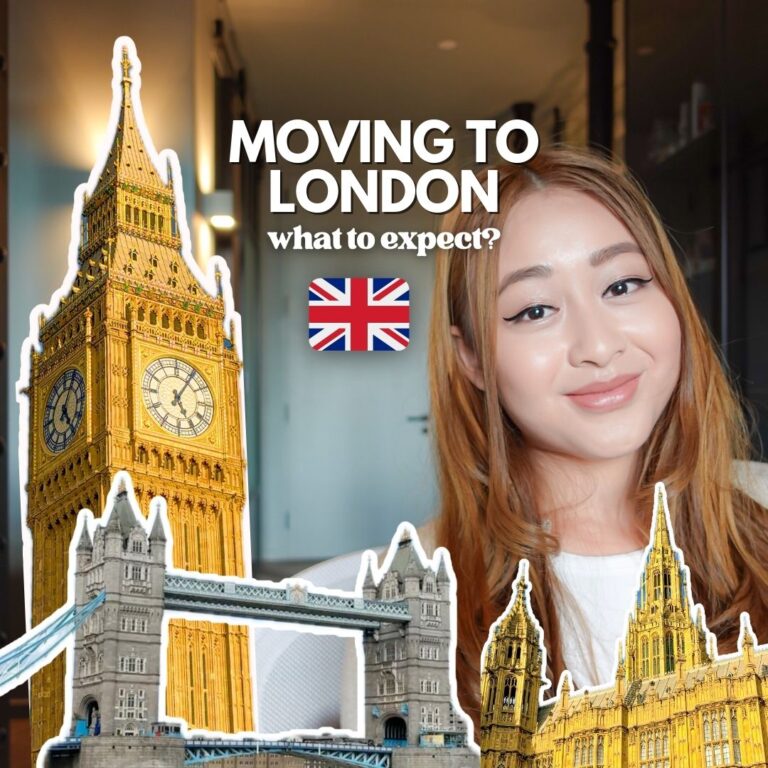
Moving to London, UK from Sydney Australia (Everything you need to know about the Youth Mobility Scheme)
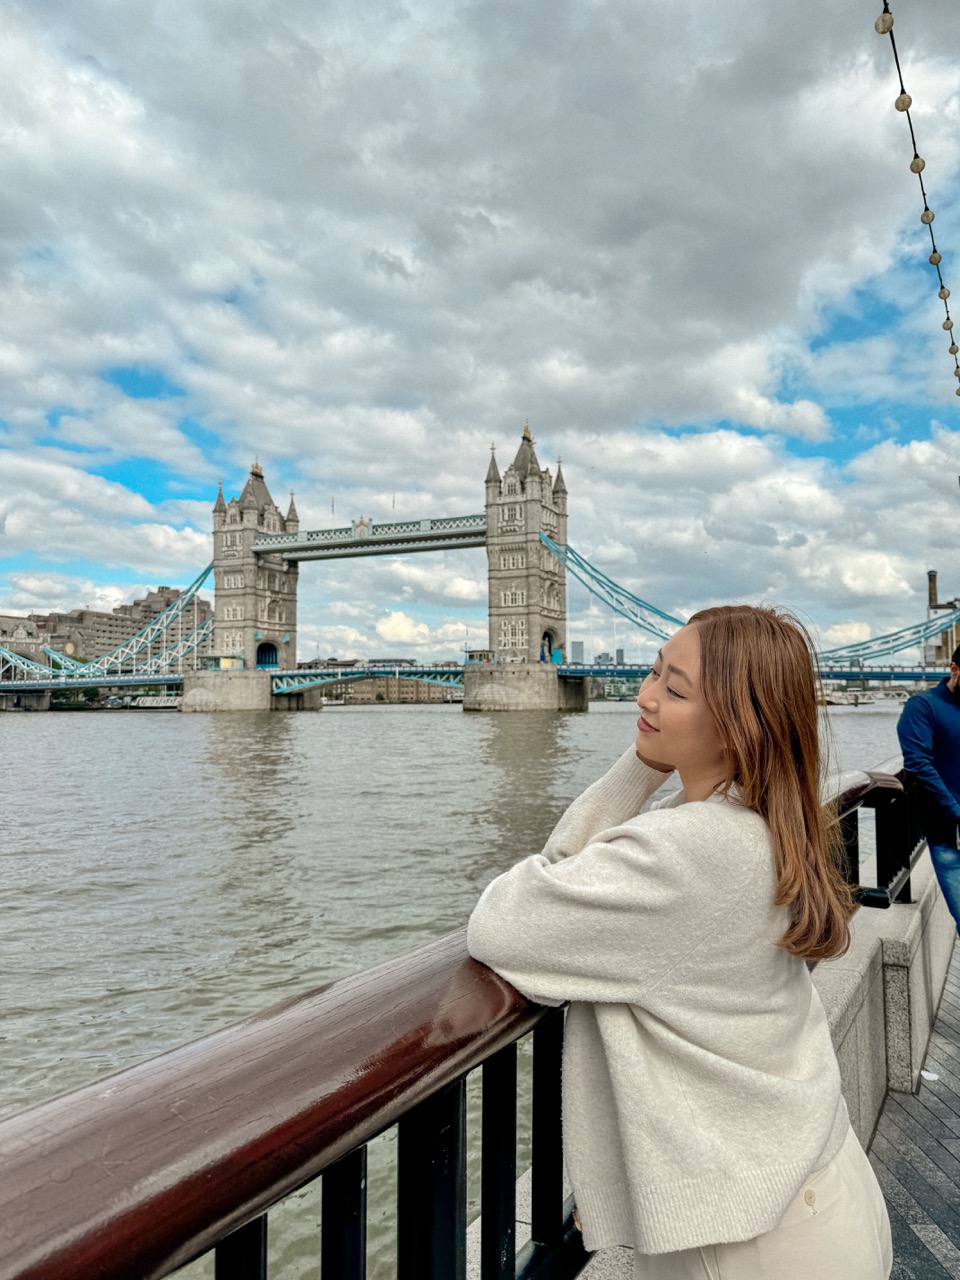
I’ve always dreamed about living abroad and I’m officially making it a reality. I’m moving to London, UK and I’m so excited to share my journey with you from when I first received my visa to when I landed in London and explore Europe! This is just the start!
If you’re from Australia and planning to apply for the UK Youth Mobility Scheme VISA, I’ll share the whole process with you so you know what to expect.
The UK Youth Mobility Scheme VISA allows you to live and work in the UK for up to 2 years and you have the option to extend this for one more year too.
Apply for the UK Youth Mobility Scheme link → https://www.gov.uk/youth-mobility
Watch the full video here: https://youtu.be/wqQ2PtW22Ys
Who can apply and what are the requirements for the youth mobility scheme?
- If you’re aged between aged 18 to 35
- £2,530 in savings (at least $5K AUD)
- Passport
- Check here for countries who can apply HERE
Keep note that you need to have a bank statement proving that you have money available from the last 28 days
In terms of the breakdown cost, it was £298 for the application fee and £940 for the healthcare surcharge. I applied right before they increased it so now the healthcare surcharge is £1,552 which is almost double, which is insane. So in total, I paid £1,238 and $2,478 AUD
Here’s everything you need to know in the youth mobility scheme application when you fill it out
It asks where you plan to live (London), and where you have travelled in the last 10 years so you have to list it out and pick the date you’ll be arriving in the UK.
Also, asks which post office you plan to pick up your BRP (Biometric Residence permit) in the United Kingdom when you arrive. I chose a post office that had high ratings to be safe. After this, you pay for the application fee and healthcare surcharge
Once this is done, you book a biometrics appointment – select the closest visa centre and mine is Sydney. While you are in the process of booking the biometrics appointment, I recommend adding all your supporting documents – a copy of your passport and bank statement proving you have $5k AUD (2.5 pounds).
Here’s everything you need to know before your biometrics appointment for the youth mobility scheme
Print out everything including biometrics booking confirmation, and checklist – to be safe just bring a photocopy of your passport and bank statement. So you need to bring these documents and your original passport
Checklist to bring:
- Print appointment letter
- Passport (original document + printed copy just in case)
- Print checklist
- Print bank statement
- Print booking confirmation letter
Also, there is a printing station at the place, it’s $1 per page to print but do it beforehand to reduce the stress.
Arrive 15 minutes before the appointment just incase cause I didn’t realize you needed to print the biometrics booking confirmation. When you arrive, you can’t bring your bag with you, you have to put it in a locker, you can bring your phone inside and your documents.
During the biometrics appointment, they took my fingerprints and photos of me.
They hold your passport until the decision has been made about your visa and this takes about 3-6 weeks.
I cannot believe this, my visa got approved within one week! I was expecting to wait 3-6 weeks since my friend has been waiting over a month. Just waited for another email so I could collect my passport which came a week later.
Here’s my timeline from when I applied to when I first got my visa
- 4 Feb 2024 – Applied for the Youth Mobility Visa online via gov.uk
- 9 Feb 2024 – Biometrics appointment
- 16 Feb 2024 – Received email that I got approved for my VISA
- 26 Feb 2024 – Received email that my passport is ready to pick up with my visa info
- 26 Feb 2024 – Picked up my passport with the visa
*Note pick up times are only available from Mon – Fri (2-4pm) otherwise you have to pay $12 to pick up from 9am – 2pm
Once you’re in the United Kingdom (I chose to be in London), here are a few things to keep in mind
- Collect your BRP (Biometric Resident Permit Card (Within 10 days of arrival in the UK from the location you selected to pick up when you were filling in your application) This is proof you can live and work in the UK for up to two years (three if you choose to extend)
- Book a GP – register for healthcare (NHS)
- Register for NIN (to work) It’s like a tax file number – apply for a National Insurance number
- Set up a UK bank account – I use UP, wise, and Revolut
- Get a sim card – I use Lebara
- Lebara – You can get 50% off for the first three months of your mobile plan. I like this one since you can still use the SIM card all over Europe to make calls and for the data. I got the one with unlimited data since it’s quite affordable at £12.50 for the first three months.
Overall, the whole experience of applying for the UK youth mobility scheme in Australia to move to London, UK was a fairly easy process. I hope you found this guide helpful and feel free to message me on socials if you have any further questions or want to share your experience. 🙂
Watch the full video here: https://youtu.be/wqQ2PtW22Ys
Related Blog Posts
C O N N E C T W I T H M E ♡
💎 Instagram: @juliaxeats
💎 Tik Tok: @juliaxeats
💎 YouTube: @juliaxeats
💎 Blog: www.juliaxeats.com
Business inquiries: juliaxeats@gmail.com
Tags:Travel, Explore, Moving to London, Moving Abroad, Youth Mobility Scheme VISA, Moving to London from Australia, London What to Expect, Living in London

